1 - Setup
Need help with the tutorial? Join our Discord server!
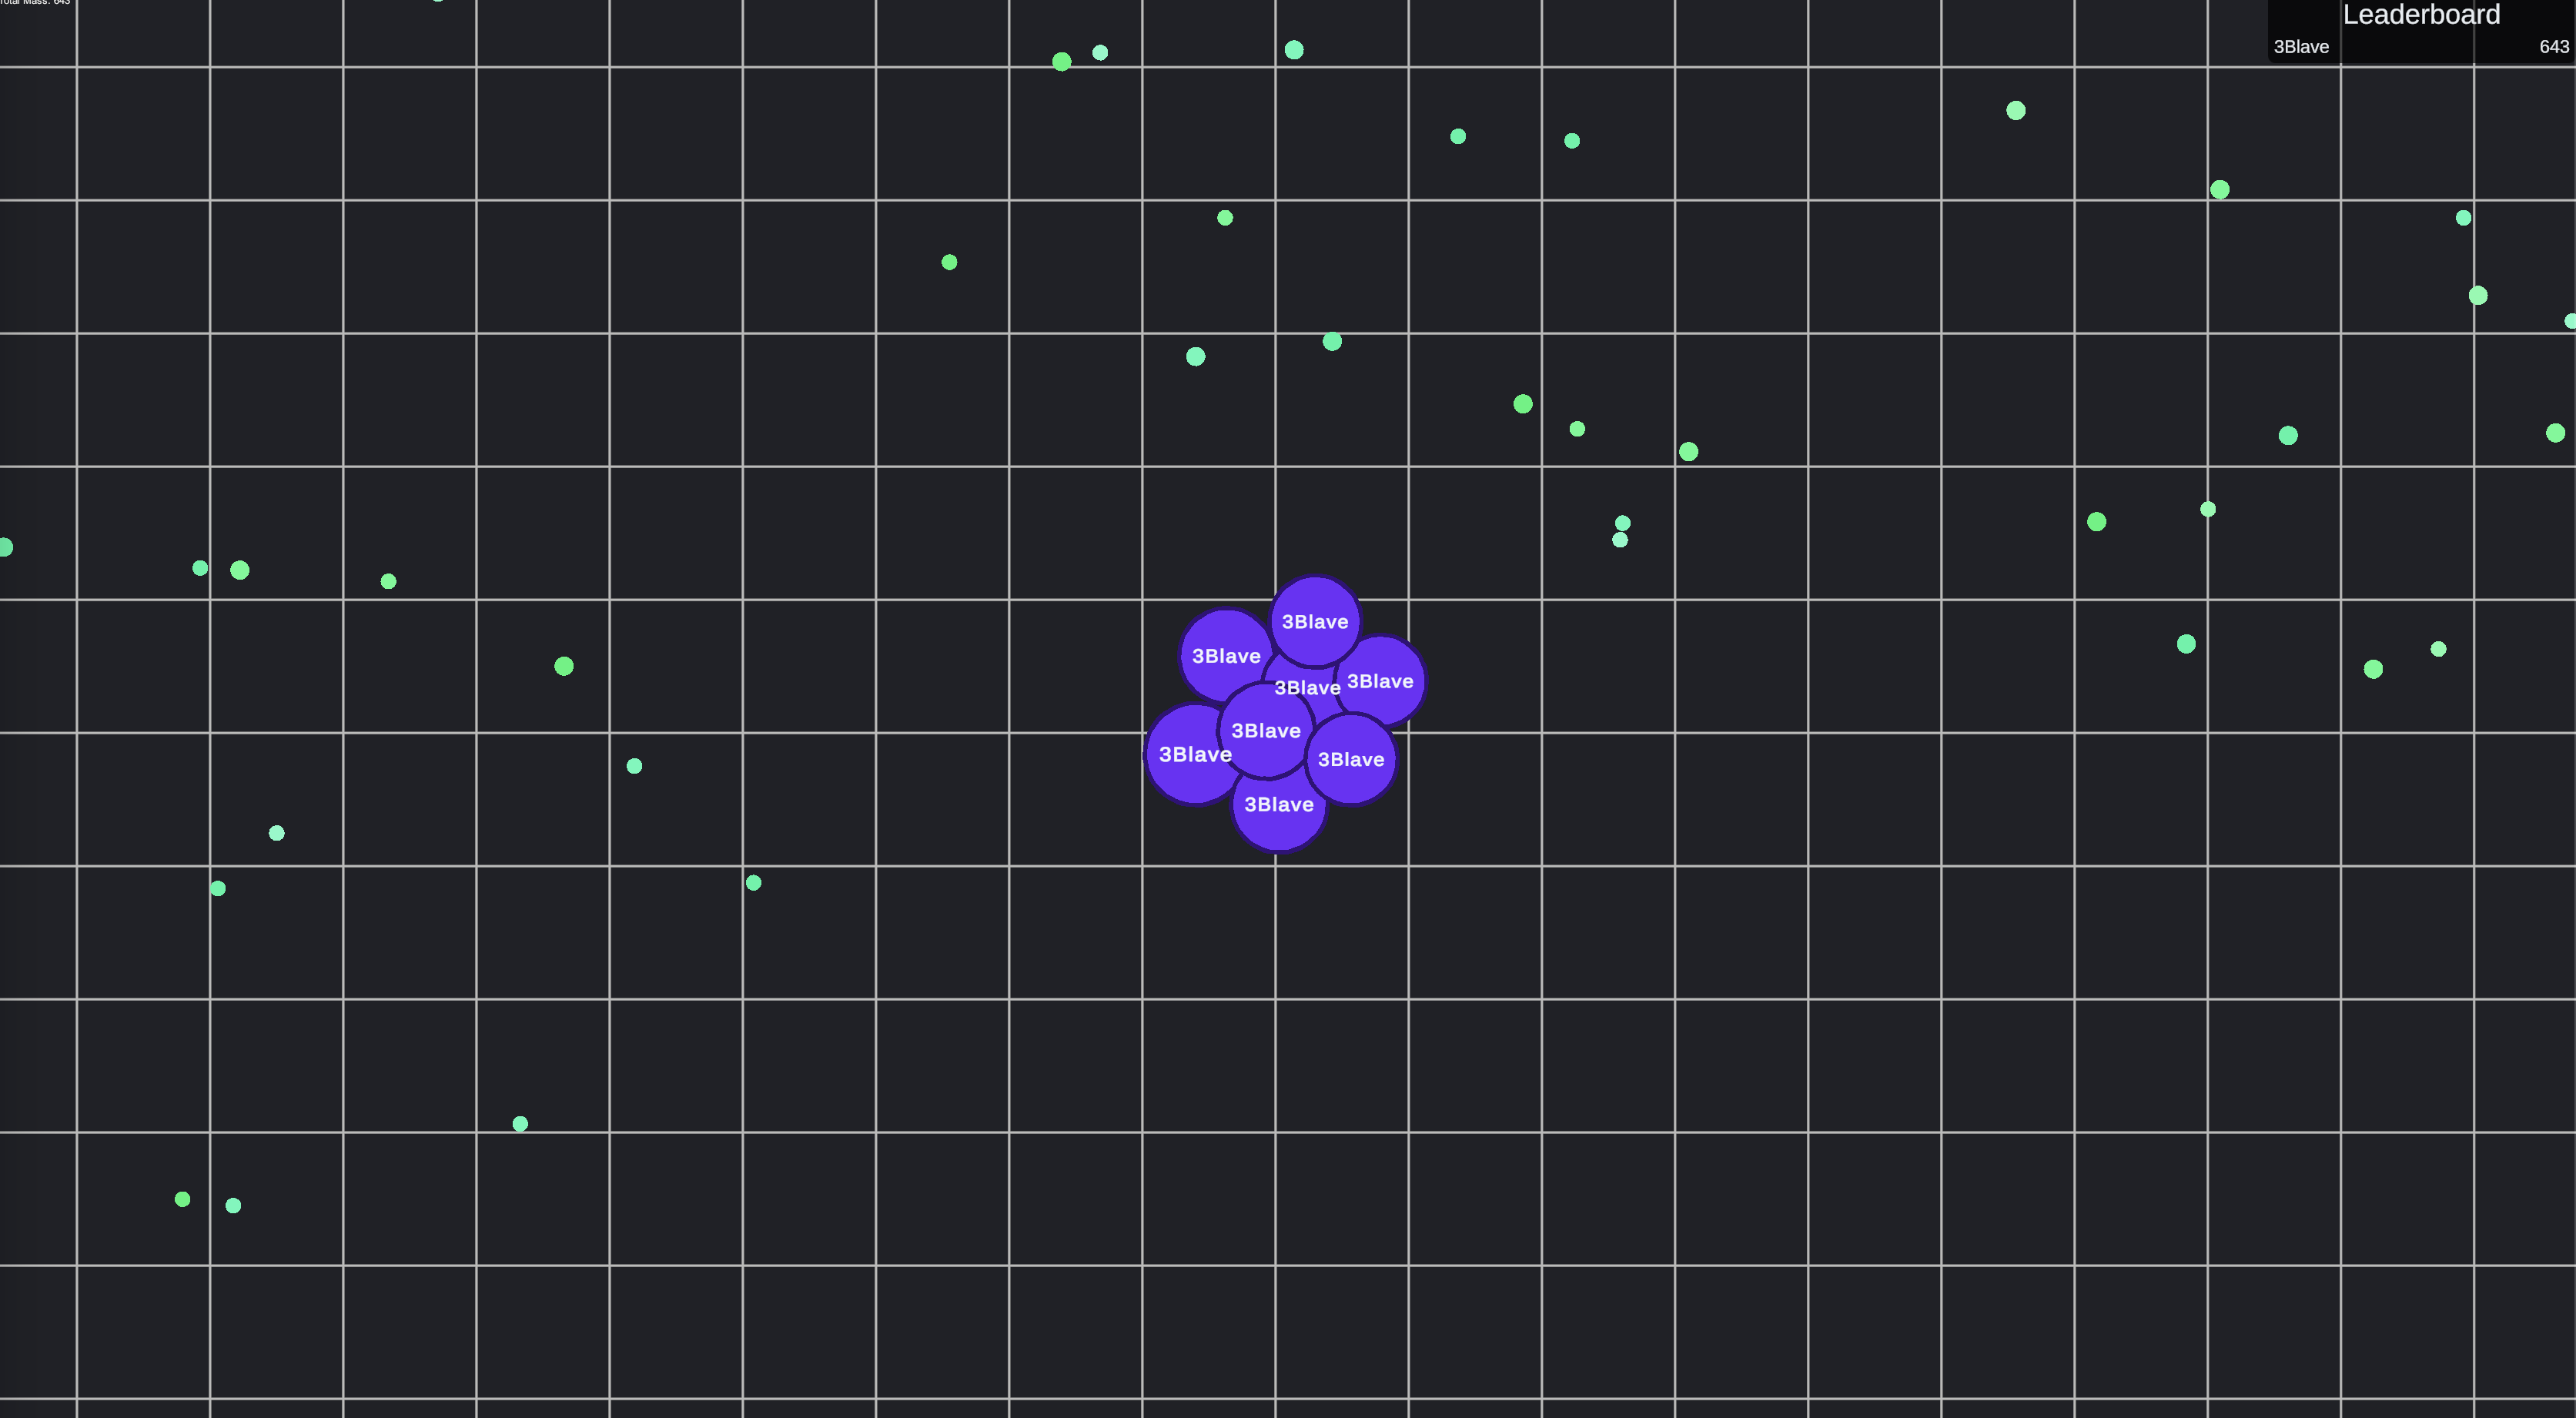
A completed version of the game we'll create in this tutorial is available at:
https://github.com/clockworklabs/SpacetimeDB/tree/master/demo/Blackholio
Setting up the Tutorial Godot Project
In this section, we will guide you through the process of setting up a Godot Project that will serve as the starting point for our tutorial. By the end of this section, you will have a basic Godot project and be ready to implement the server functionality.
Step 1: Create a Blank Godot Project
SpacetimeDB supports Godot version 4.6.2 or later. See the overview for more information on specific supported versions.
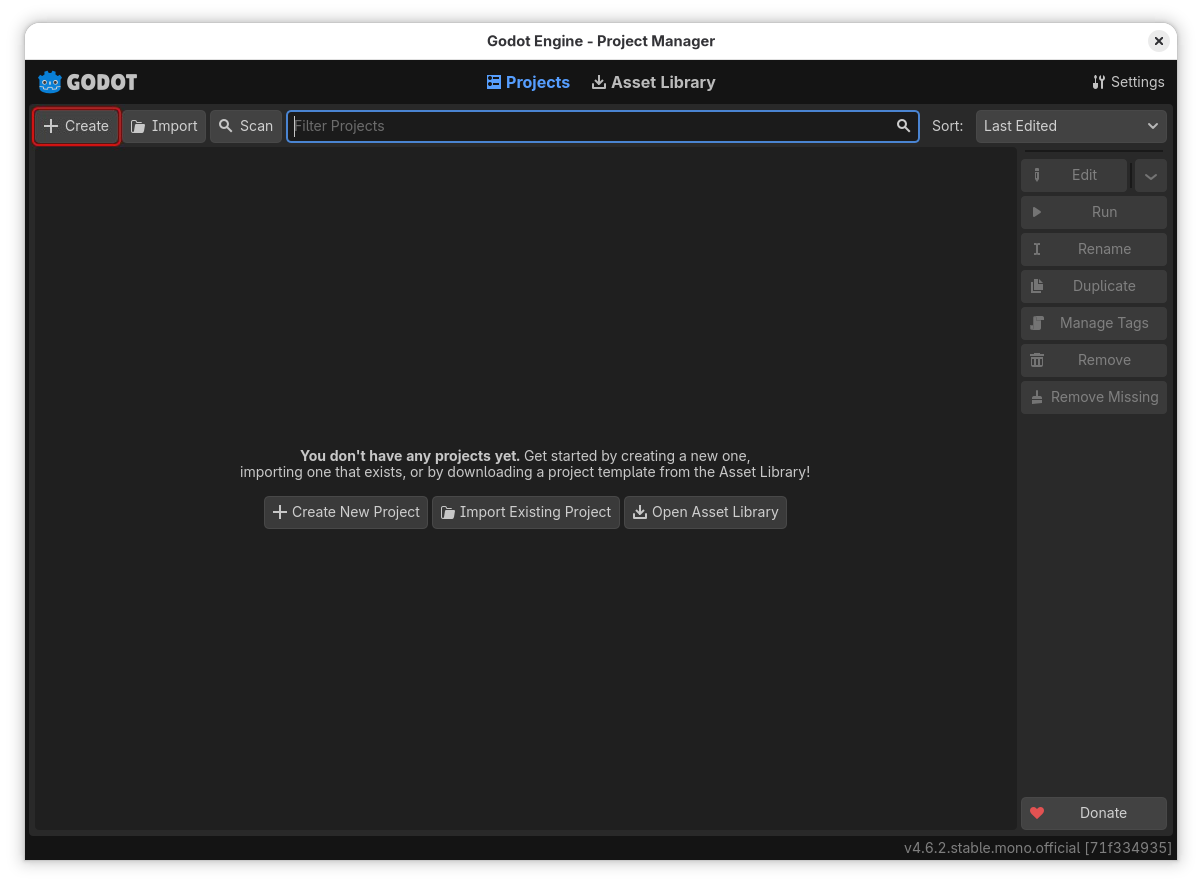
Open Godot and create a new project by selecting "+ Create" from the Project Manager.
// TODO: THIS IMAGE MUST BE UPDATED
For Project Name use blackholio. For Project Location select a directory that you can navigate to via the CLI because we will need to do so in part 2.
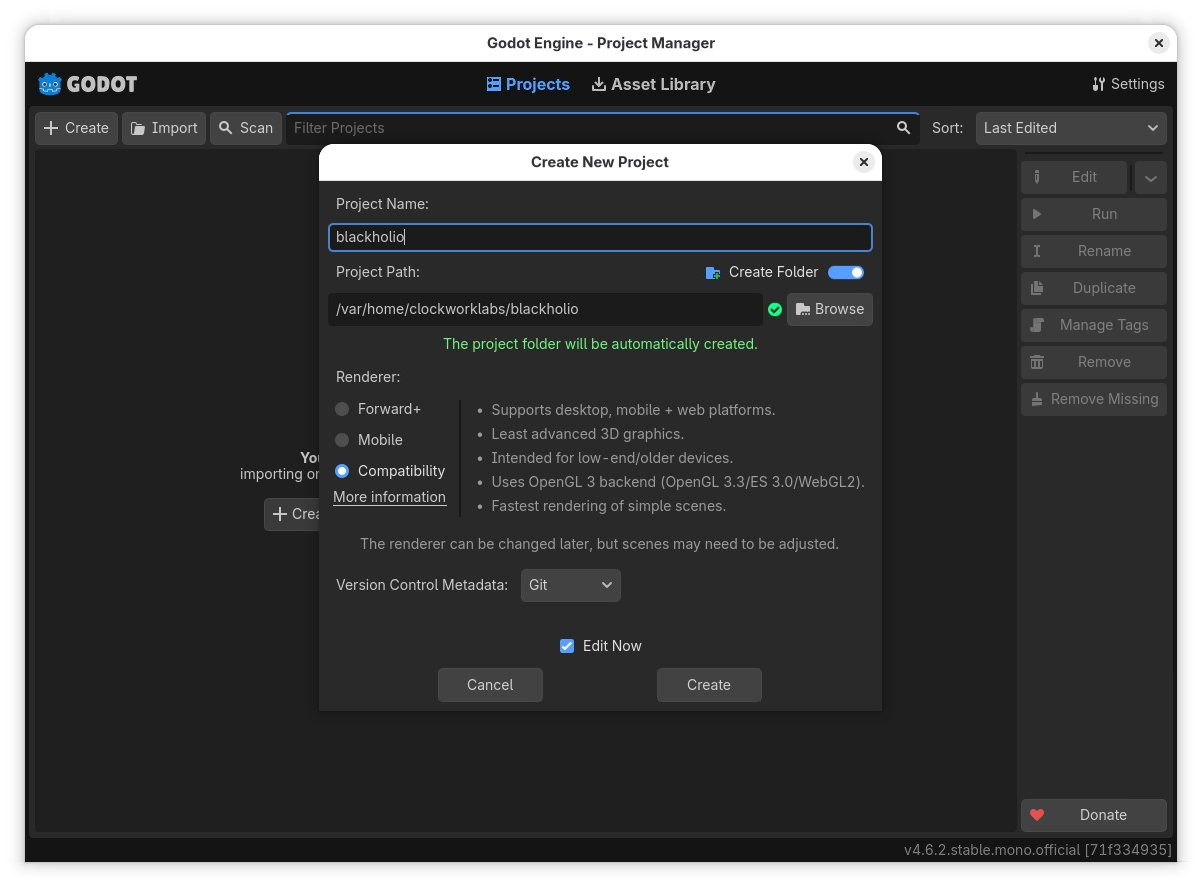
Any Renderer will work.
Click "Create" to generate the blank project.
Import the SpacetimeDB Godot SDK
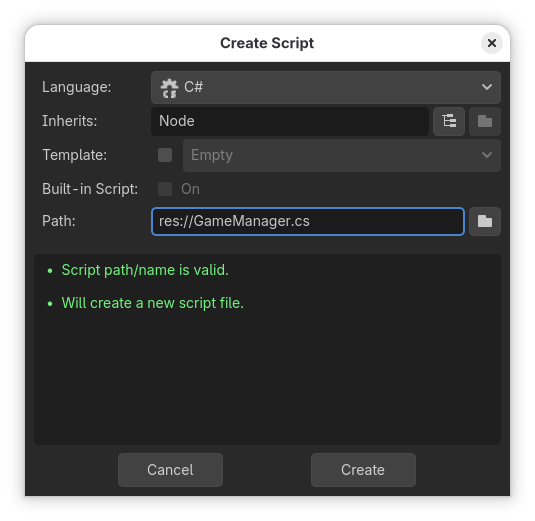
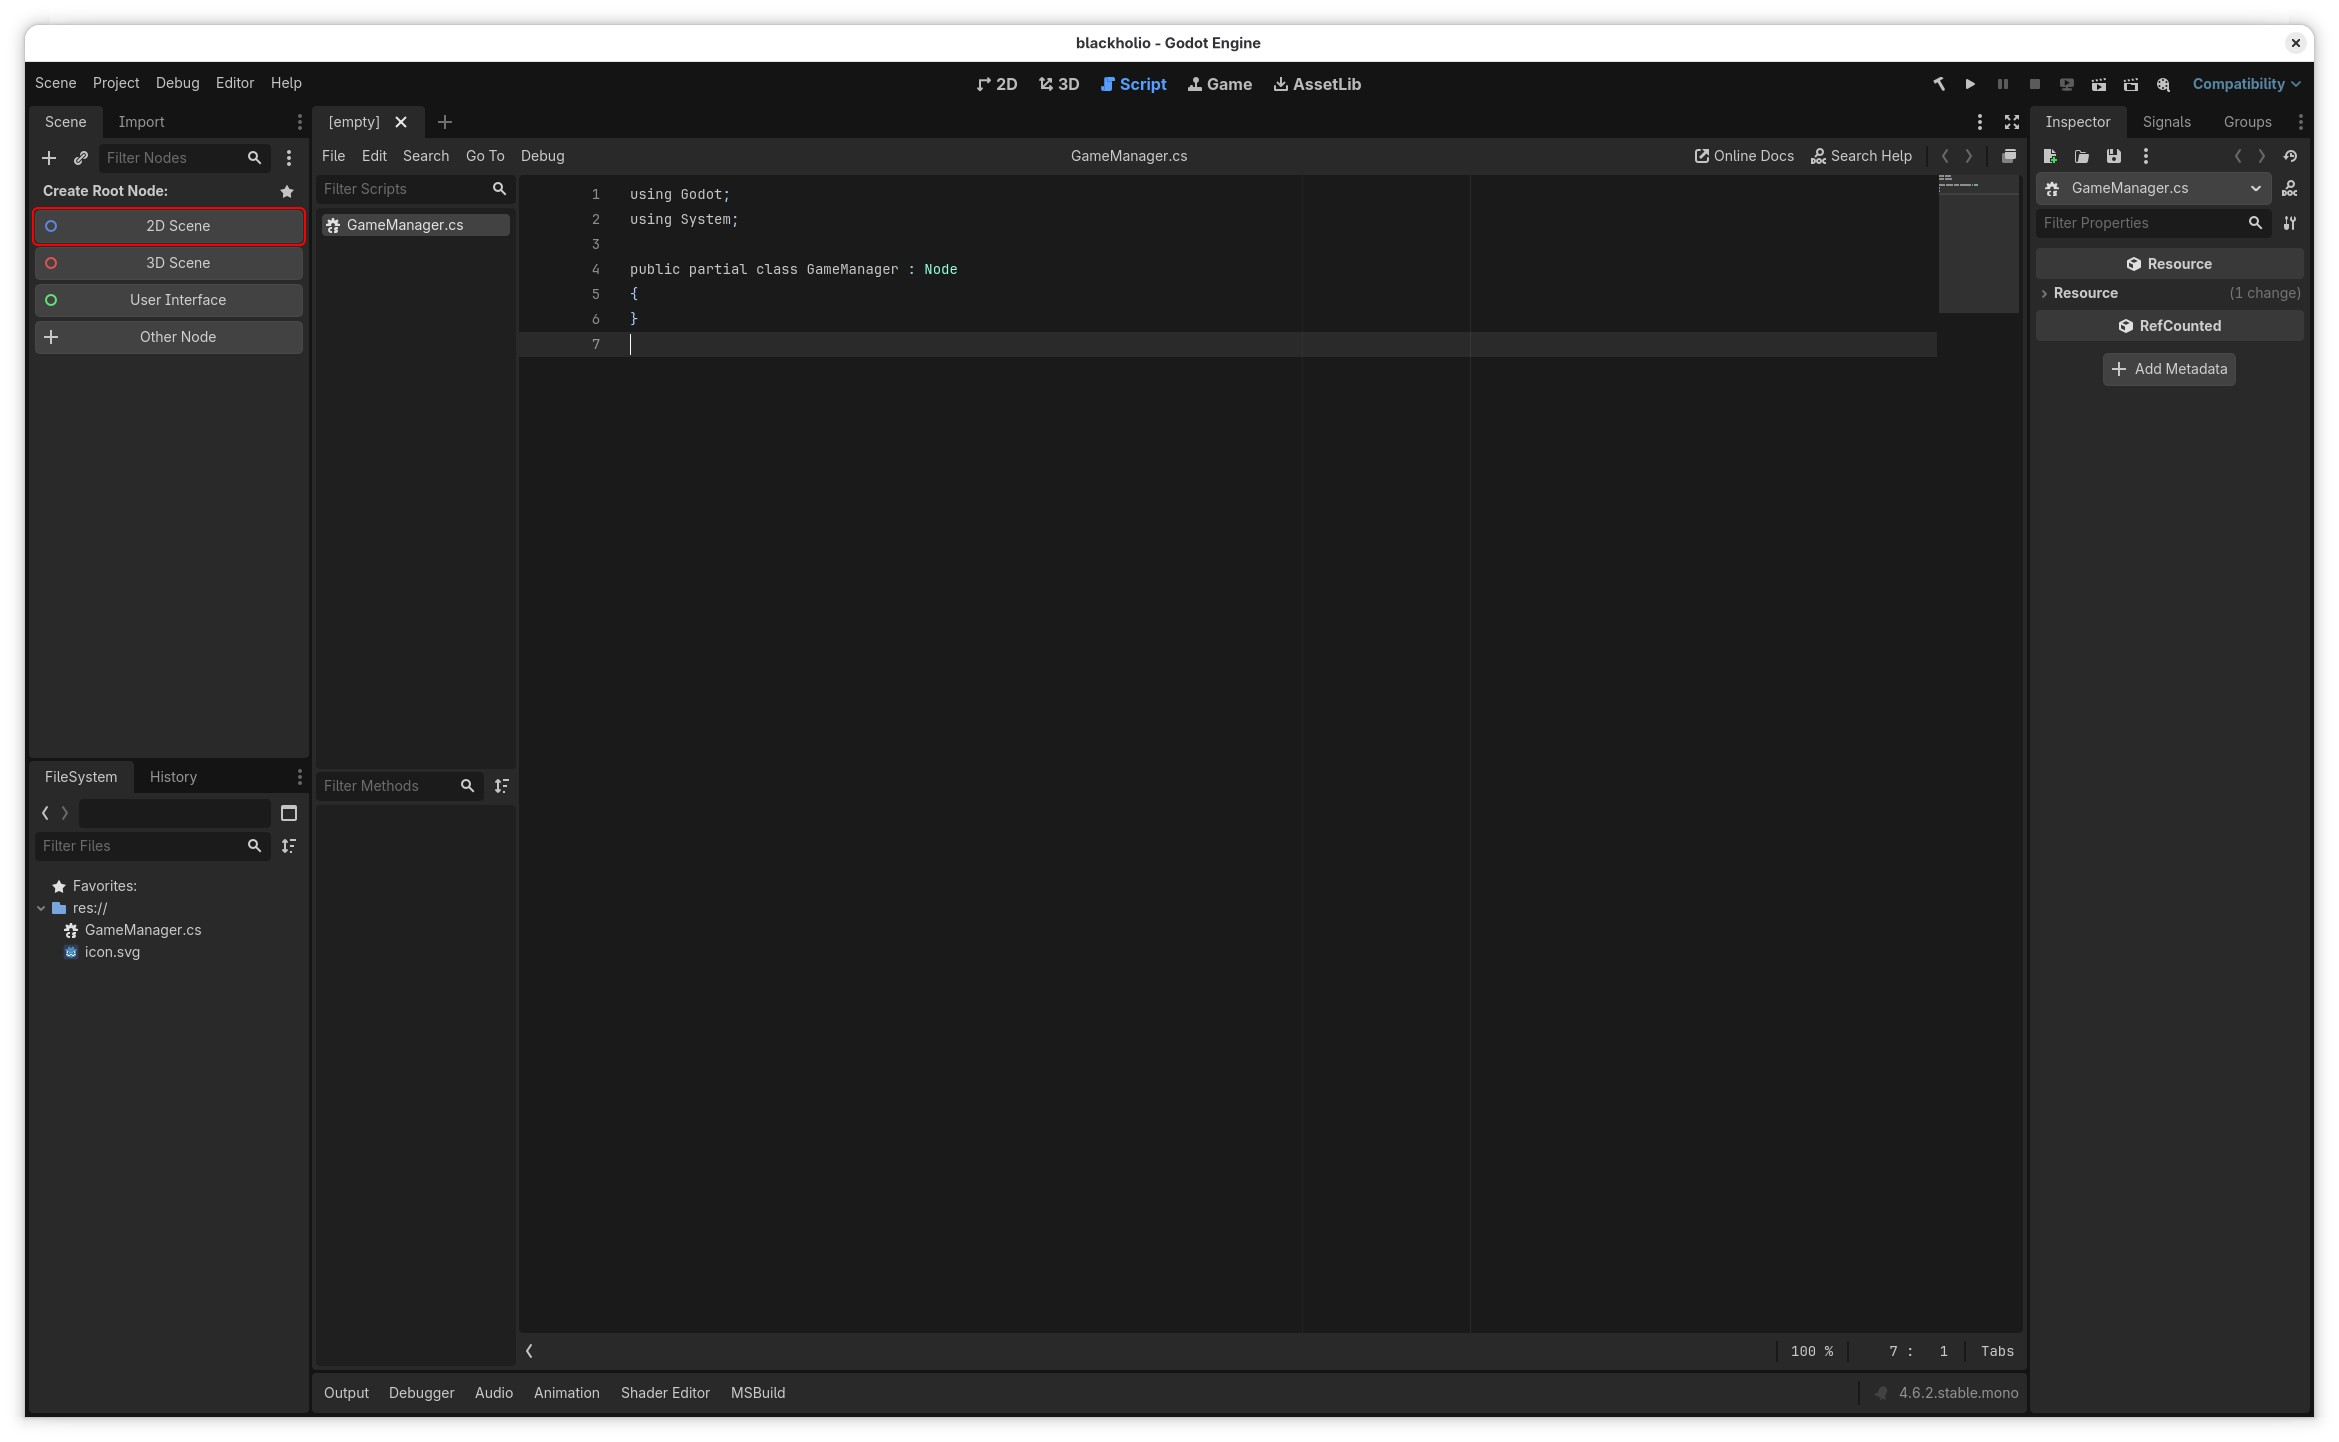
We will add the SpacetimeDB SDK using NuGet. Godot does not initialize a C# Project when creating a new Godot project, so we need to create a C# Script first to initialize our Godot C# Project.
- Right-click in the FileSystem dock, then select
New Script. - Select
C#in Lanugage and name itGameManager. We will use this script later to put the high level initialization and coordination logic for our game.
- Add the
SpacetimeDB.ClientSDKNuGet package using Visual Studio or Rider NuGet Package Manager or via the .NET CLI:
dotnet add package SpacetimeDB.ClientSDK.GodotThe SpacetimeDB Godot SDK provides helpful tools for integrating SpacetimeDB into Godot, including a connection update manager which will synchronize your Godot client's state with your SpacetimeDB database in accordance with your subscription queries.
Create a new Scene
- Create a 2D Scene:
- In the Scene Dock (usually on the top left), click on Create Root Node: -> 2D Scene.
- Alternatively, you can click the + button to add a child node and select a Node 2D.
-
Rename the Node:
- In the Scene dock, double-click on the newly created node (or
right-click -> rename) and rename it toMain.
- In the Scene dock, double-click on the newly created node (or
-
Attach the GameManager Script:
- Drag and drop the
GameManagerscript from the Scene dock onto theMainNode in the Scene window.
- Drag and drop the
You will see a warning saying This inspector might be out of date. Please build the C# project.. This is because Godot doesn't automatically compile our C# project and we need to run the game for the compilation to take place. Let's do that.
-
Save current Scene:
- Press
Ctrl + S(orCmd + Son Mac) to save the current scene. Name itmain.tscn. - Alternatively, go to
Scene -> Save Scene As.
- Press
-
Run Project and build C# Project:
- Press
F5(orCmd + Bon Mac) to run the project, click onSelect Currentto select the current scene as the main one. - Alternatively, you can click on the play button in the top menu.
- Press
Our Godot project is all set up! If you press play, it will show a blank screen, but it should start the game without any errors. Now we're ready to get started on our SpacetimeDB server module, so we have something to connect to!
Create the Server Module
We've now got the very basics set up. In part 2 you'll learn the basics of how to create a SpacetimeDB server module and how to connect to it from your client.