Creating a project
SpacetimeAuth is currently in beta, some features may not be available yet or may change in the future. You might encounter bugs or issues while using the service. Please report any problems you encounter to help us improve SpacetimeAuth.
SpacetimeAuth is a service that can be enabled for any module published on Maincloud. Check out our Deploy to Maincloud guide to learn how to publish a module.
1. Enabling SpacetimeAuth for a module
-
Deploy your module to Maincloud if you haven't already.
-
Navigate to the dashboard of your deployed module on Maincloud:
- Click on your profile picture in the top right corner.
- Select "My profile" from the dropdown menu.
- Click on the desired module from the list of your deployed modules.

-
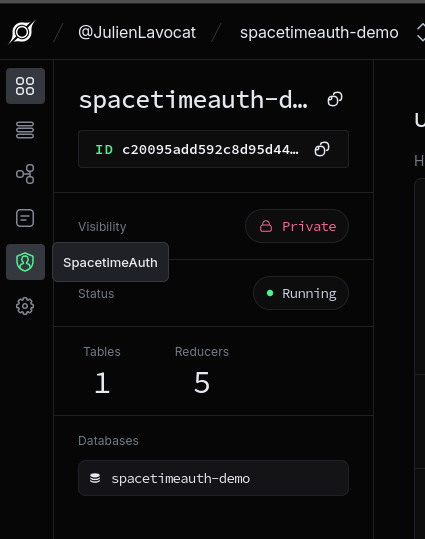
In the left sidebar, click on "SpacetimeAuth".
-
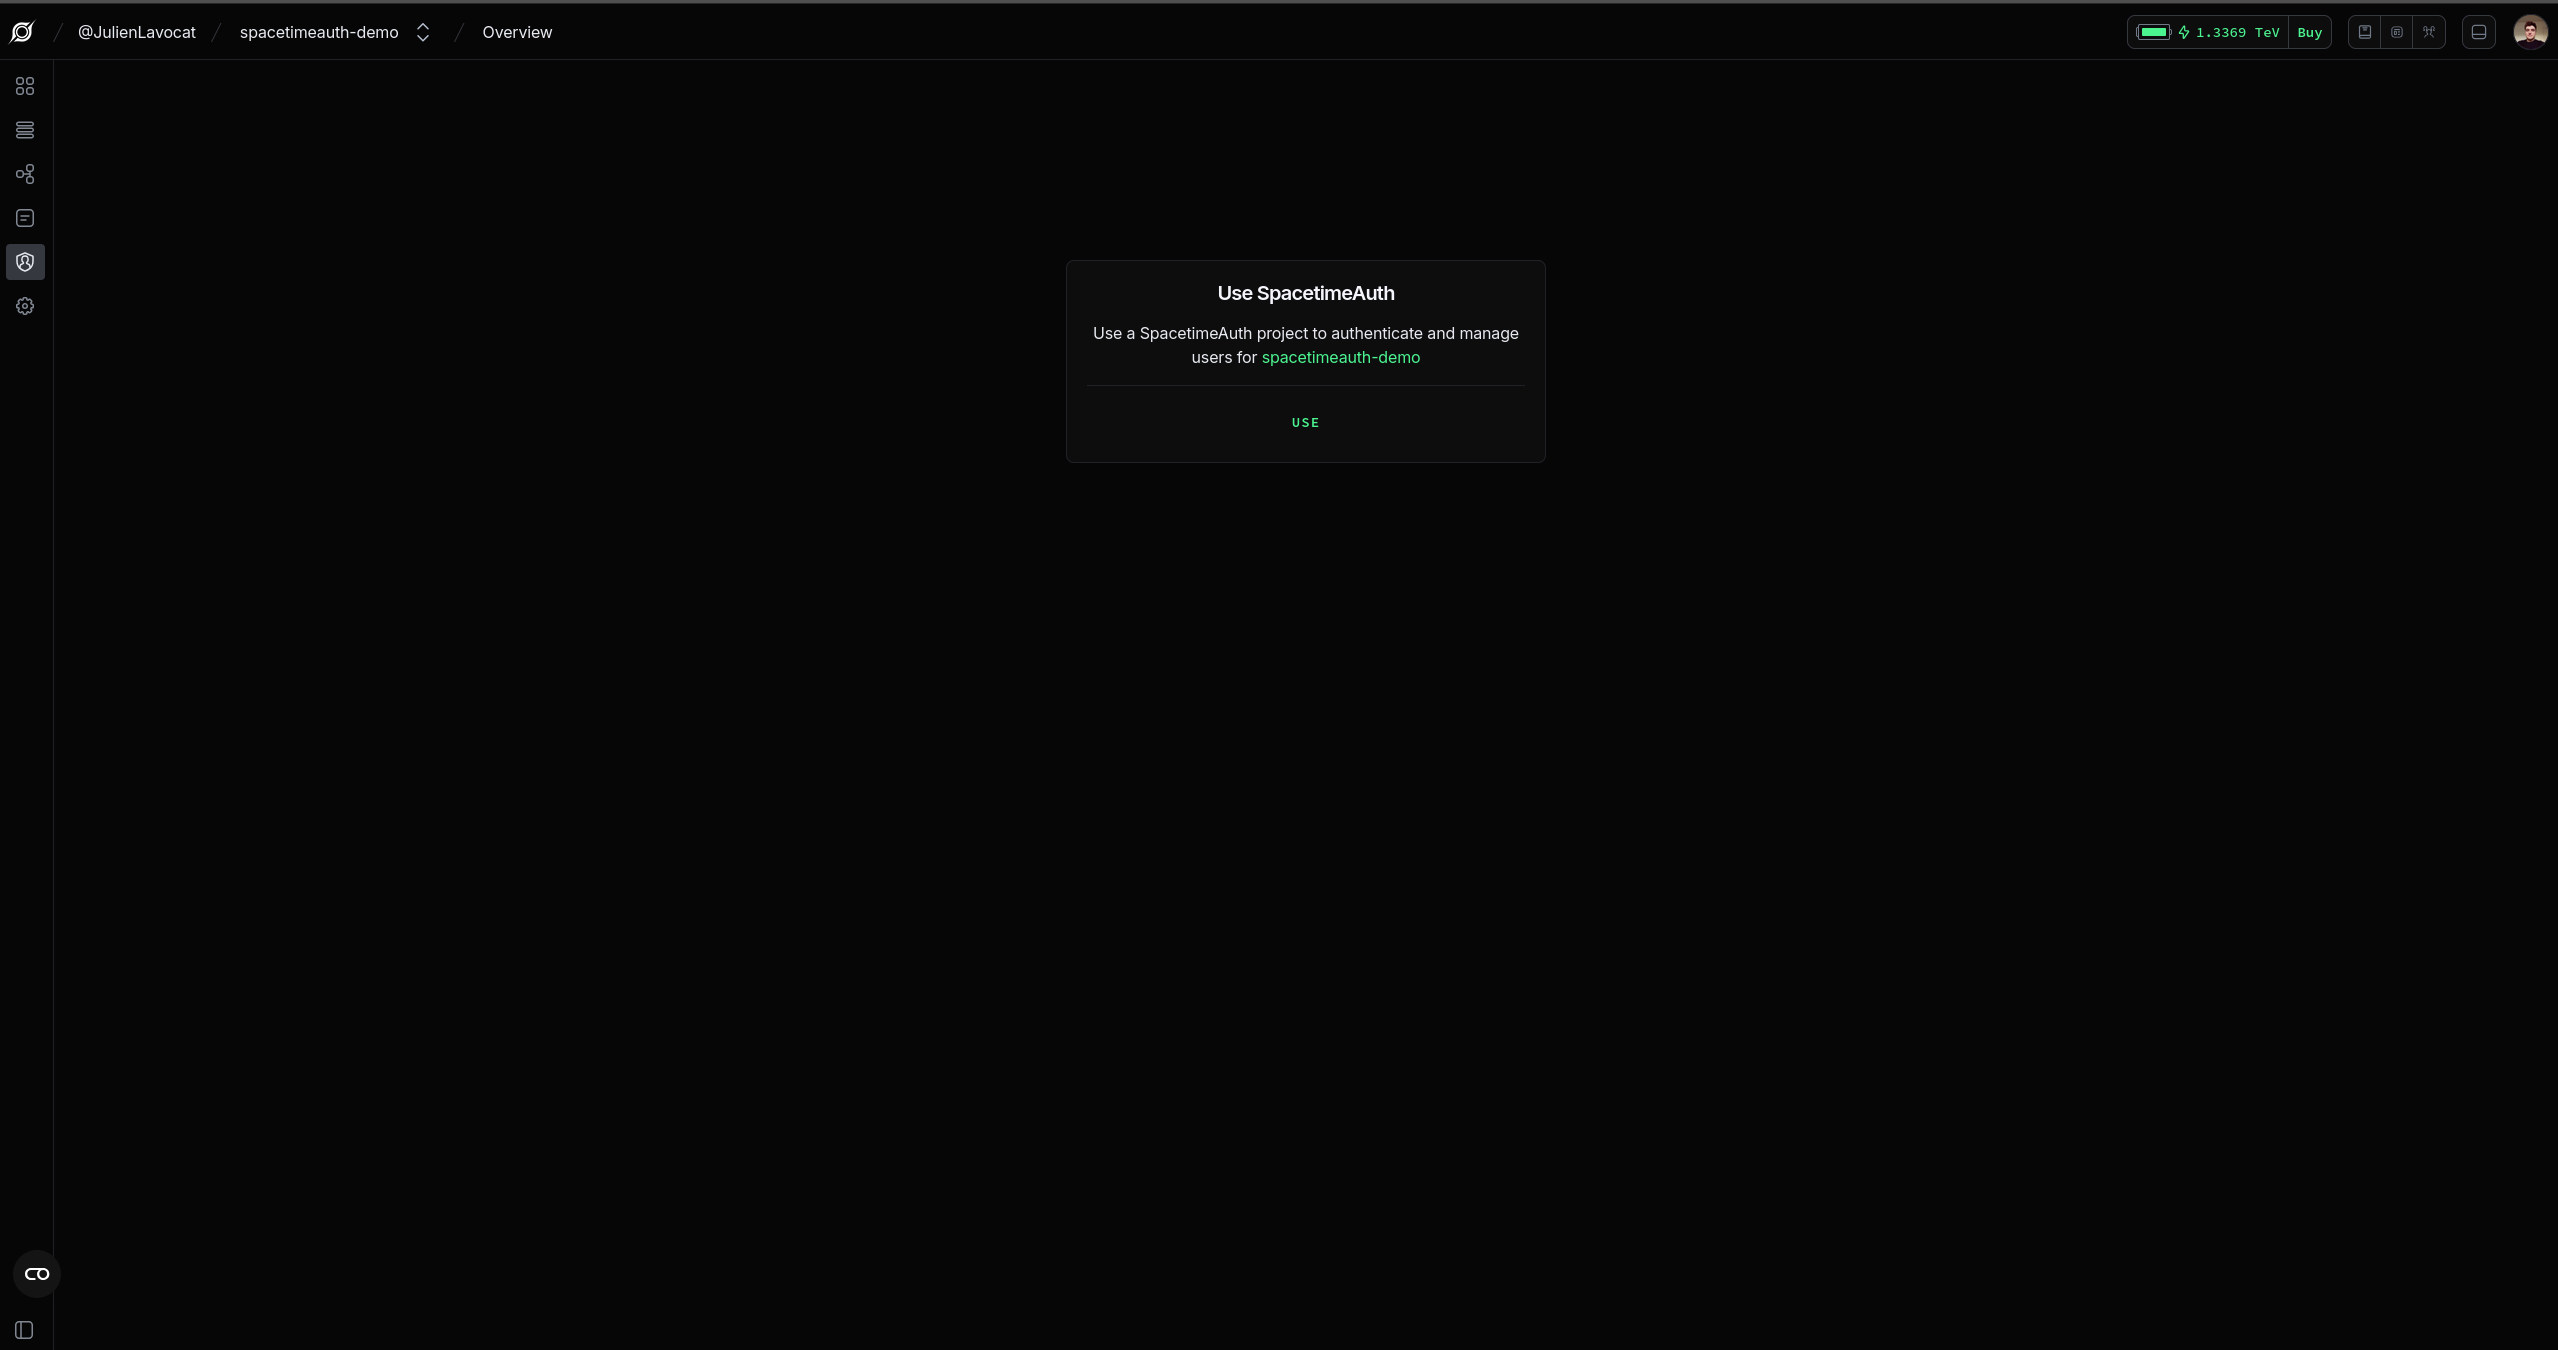
Click on the "Use SpacetimeAuth" button.
2. Exploring the Dashboard
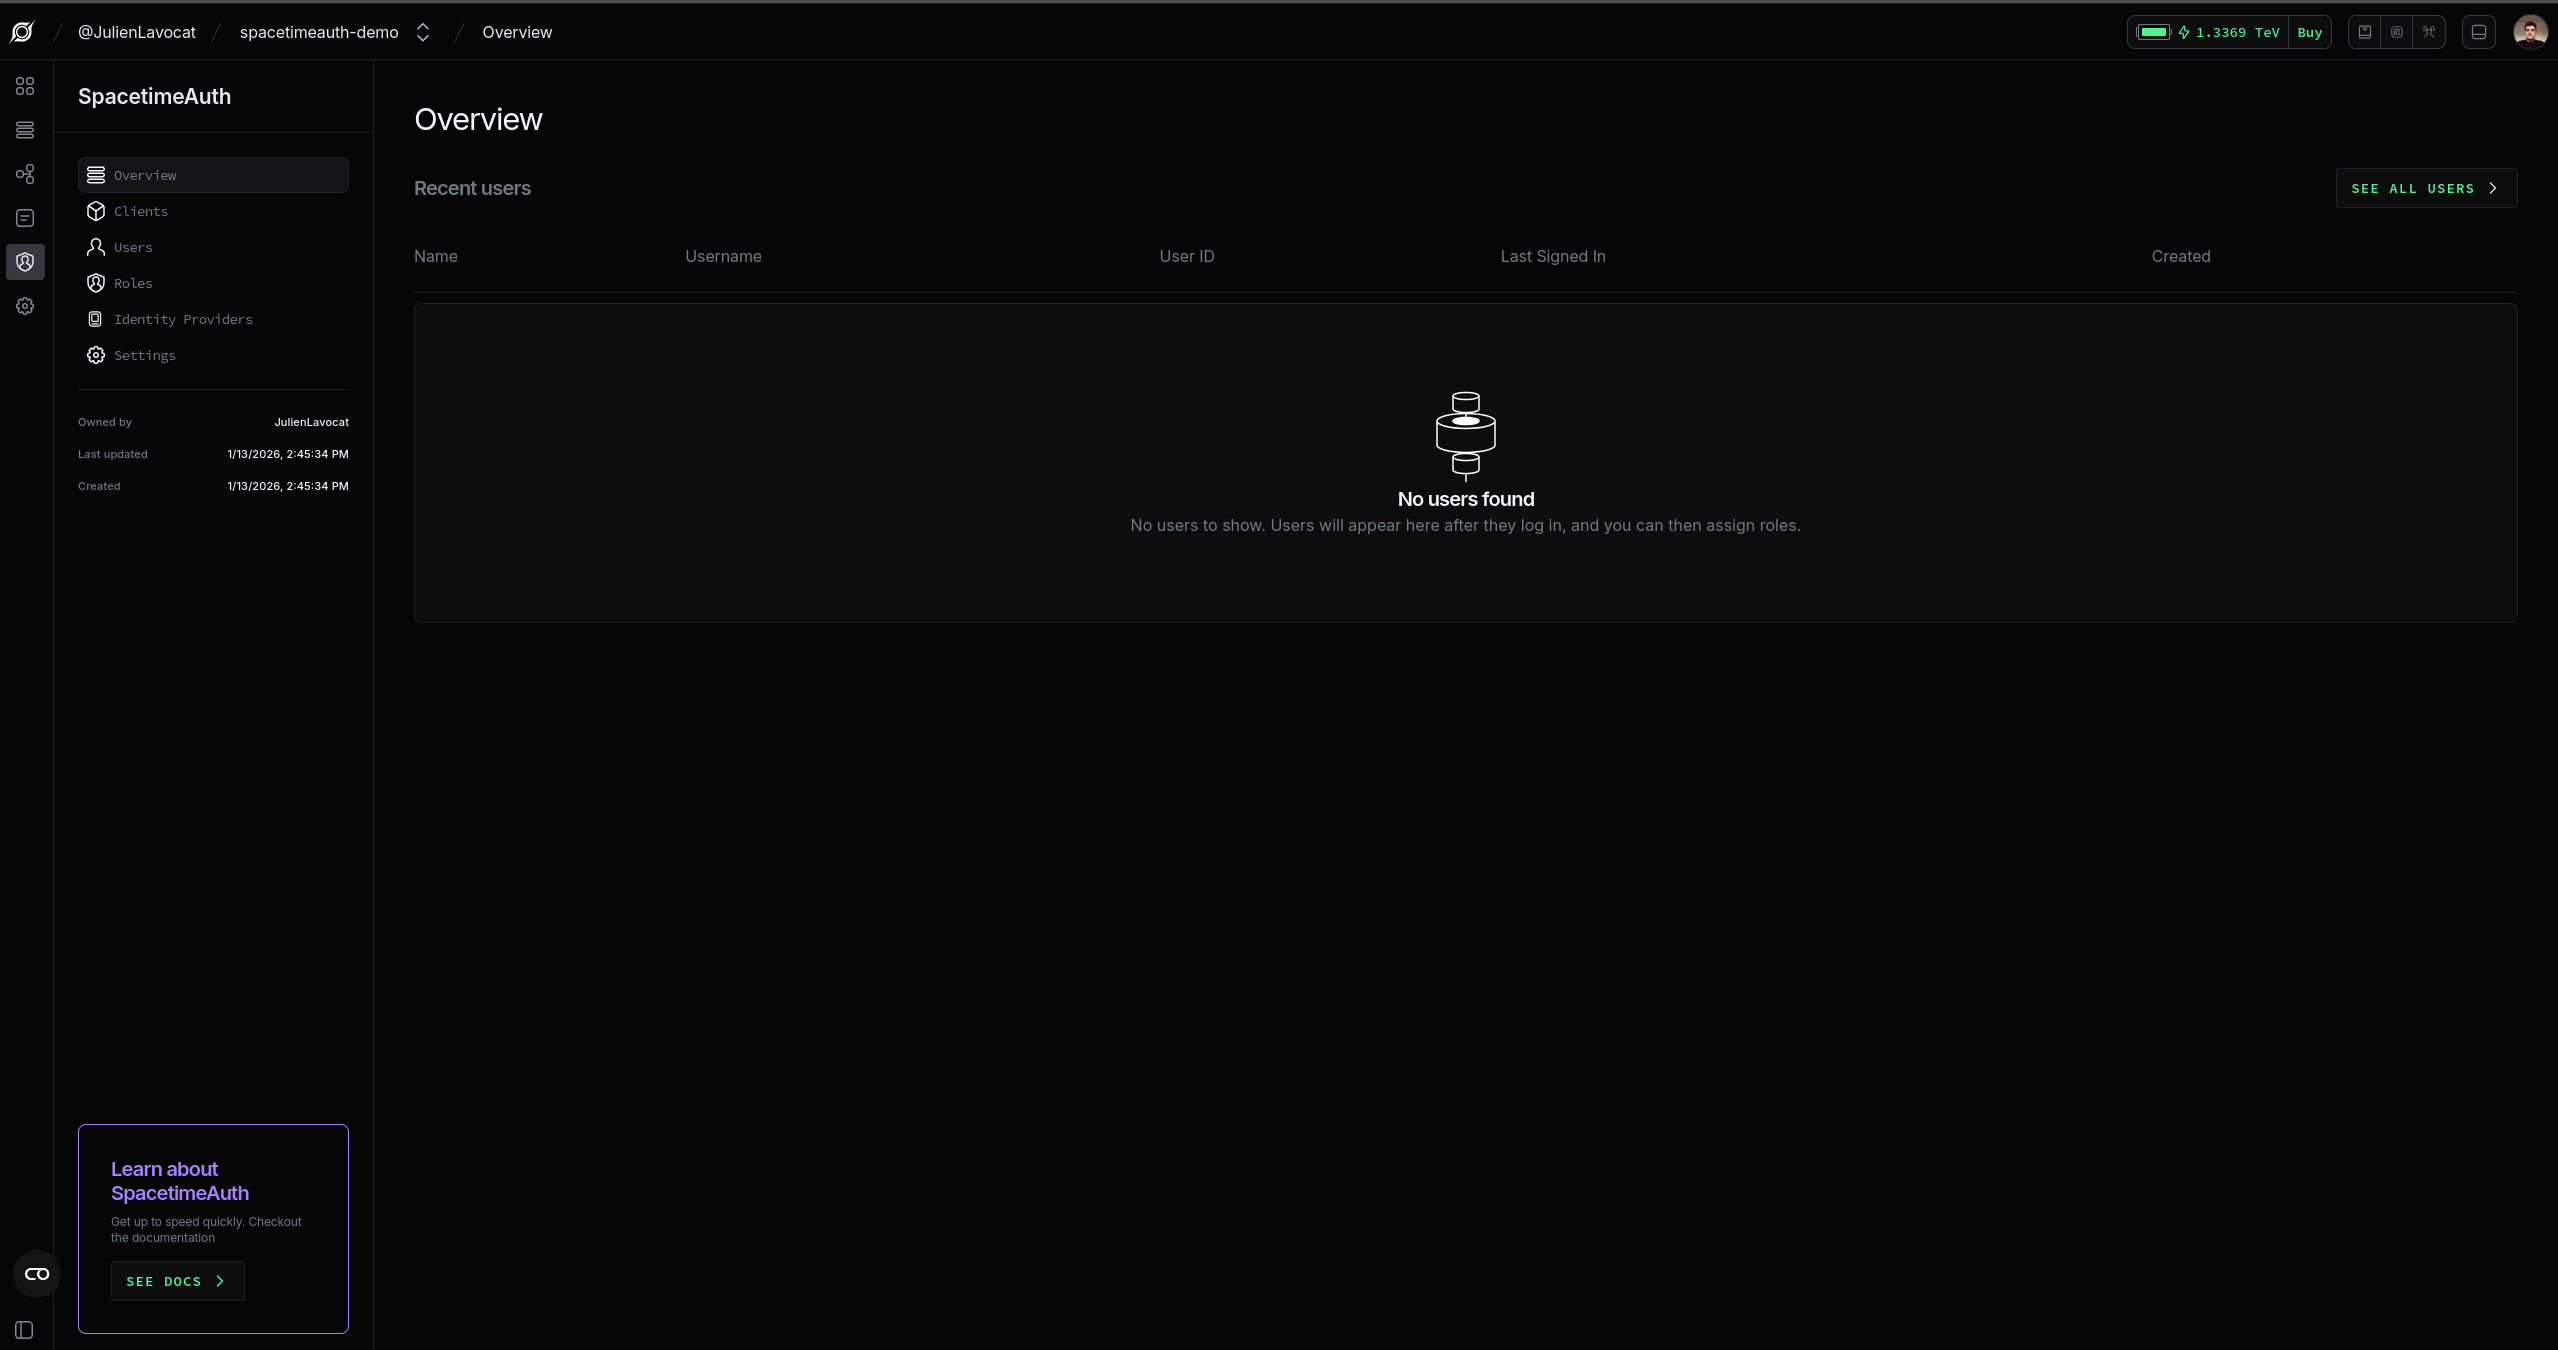
The dashboard provides you with multiple tabs to manage different aspects of your project:
- Overview: A summary of your project, including a table of recent users.
- Clients: A list of all clients (applications) that can be used to authenticate in your applications. A default client is created for you when you create a new project.
- Users: A list of all users in your project, with options to search, filter, and manage users.
- Identity Providers: A list of all identity providers (e.g. Google, GitHub, etc.) that can be used to authenticate users in your project.
- Customization: Live editor to customize colors, logos, and authentication methods.
4. Next Steps
Now that you have created a SpacetimeAuth project, you can start configuring it to suit your application's needs. Check out our configuration guide for more information on setting up identity providers, customizing templates, and managing users and roles.